What is Oracle NetSuite?
Oracle NetSuite is a comprehensive cloud-based business management software suite designed to streamline and integrate key business processes across various departments, such as finance, customer relationship management (CRM), e-commerce, inventory, and order management.
The platform offers a unified solution that enables organizations to gain real-time visibility and control over their operations, facilitating better decision-making and enhancing overall efficiency.
Why integrate Oracle NetSuite with Kissflow?
Here's a breakdown of why Oracle NetSuite with Kissflow integration is advantageous:
1. Enhanced Workflow Automation: Kissflow's workflow automation capabilities can simplify approval processes, task assignments, and document management, enhancing efficiency in NetSuite data operations.
2. Improved Data Management: Users can access up-to-date information without switching between platforms, leading to faster responses and better-informed decisions.
3. Customizable Workflows: Organizations can create custom workflows in Kissflow that match their unique business processes while leveraging the rich data from NetSuite, enhancing overall efficiency.
4. Cross-Departmental Collaboration: Teams across various departments (like finance, sales, and operations) can collaborate more effectively, breaking down silos and improving communication.
5. Comprehensive Reporting and Analytics: Organizations can track workflow efficiency and performance metrics, identifying bottlenecks and opportunities for improvement.
6. Enhanced Compliance and Governance: Organizations can better manage governance and compliance-related risks by ensuring processes adhere to necessary compliance standards through automated workflows.
How to integrate Oracle NetSuite with Kissflow?
1. Setting up TBA Authorization Flow: Log in to your NetSuite account and click Setup > Integration > Manage Integrations > New. Specify the integration details and under Authentication, enable TBA Authorization flow.
2. Adding Callback URL to the Application: Add the following callback URL to the integration https://accounts.kissflow.com/integration/2/Account001/connection/Co8sTsibVz7b/1.0.0/auth/oauth1/callback
3. Completing NetSuite setup: Note down the Consumer Key and Consumer Secret and click Save. You have successfully created an integration inside NetSuite.
Setting up an integration in Kissflow
1. Authenticating your NetSuite account inside Kissflow: To authenticate your NetSuite account within Kissflow you need the below details
Account ID: It is found in the beginning of your NetSuite accounts URL.
Realm ID: The realm ID is the NetSuite Account ID, Obtain your NetSuite account ID by clicking Setup > Company > Company Information. Please capitalize all letters and replace hyphens with underscores when entering the realm ID. For example, <67893>-sb1 should be entered as <67893>_SB1.
Consumer Key and Consumer Secret: Under client credentials, you will find the Consumer Key (client ID) and Consumer Secret (client secret).
2. Complete Authentication: Click +Add an account and fill in the required fields for authentication. Authenticate by logging in to the NetSuite account, choosing the role, and click Allow to complete the process. Kissflow uses NetSuite’s OAuth for authentication.
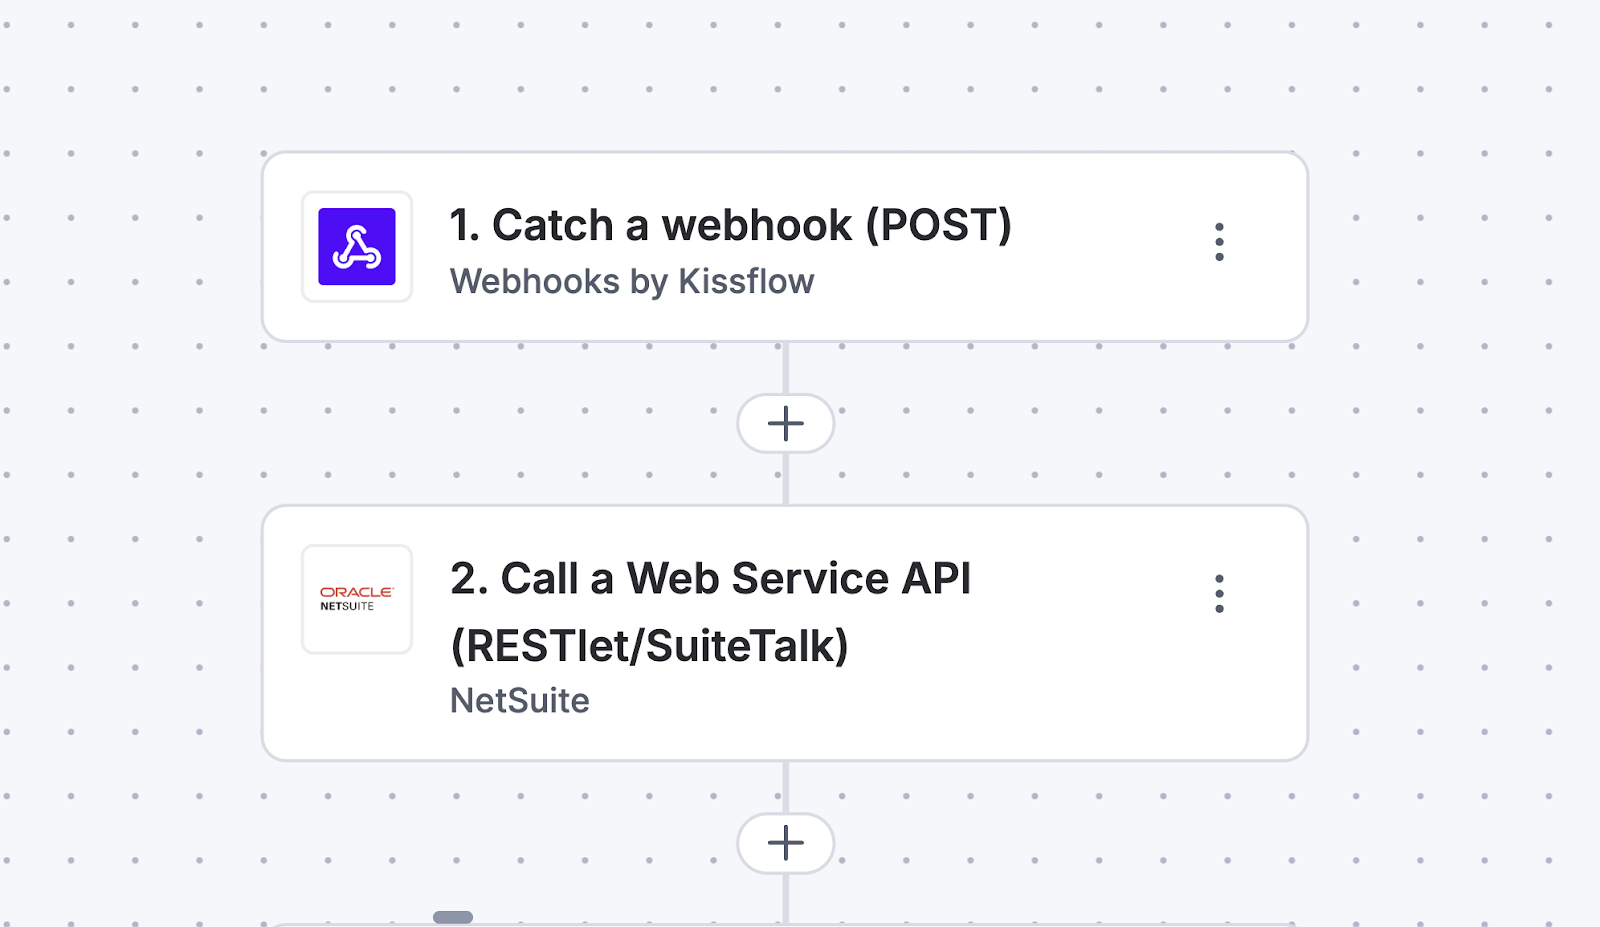
3. Select the desired NetSuite action which is Call a Web Service API (RESTlet/SuiteTalk) and configure the corresponding fields. Then, provide a valid REST API. For example, if you want to read a vendor bill, use the following endpoint: GET /services/rest/record/v1/vendorBill/?expandSubResources=true.

Next, choose the appropriate HTTP method to perform the CRUD operation needed. If necessary, add query parameters and headers. In case you opt for the POST method, use the dynamic field to map the JSON payload. You can also map fields from your trigger step or previous action steps.
4. Click Next.
5. After a successful configuration, test whether your NetSuite action step is set up correctly by clicking the Test button. The connector will pull field data from your selected NetSuite account and display it as a JSON output. Errors are notified to you right away. Fix them before retesting the action step.
>> Click here to learn more
Executing the NetSuite connector
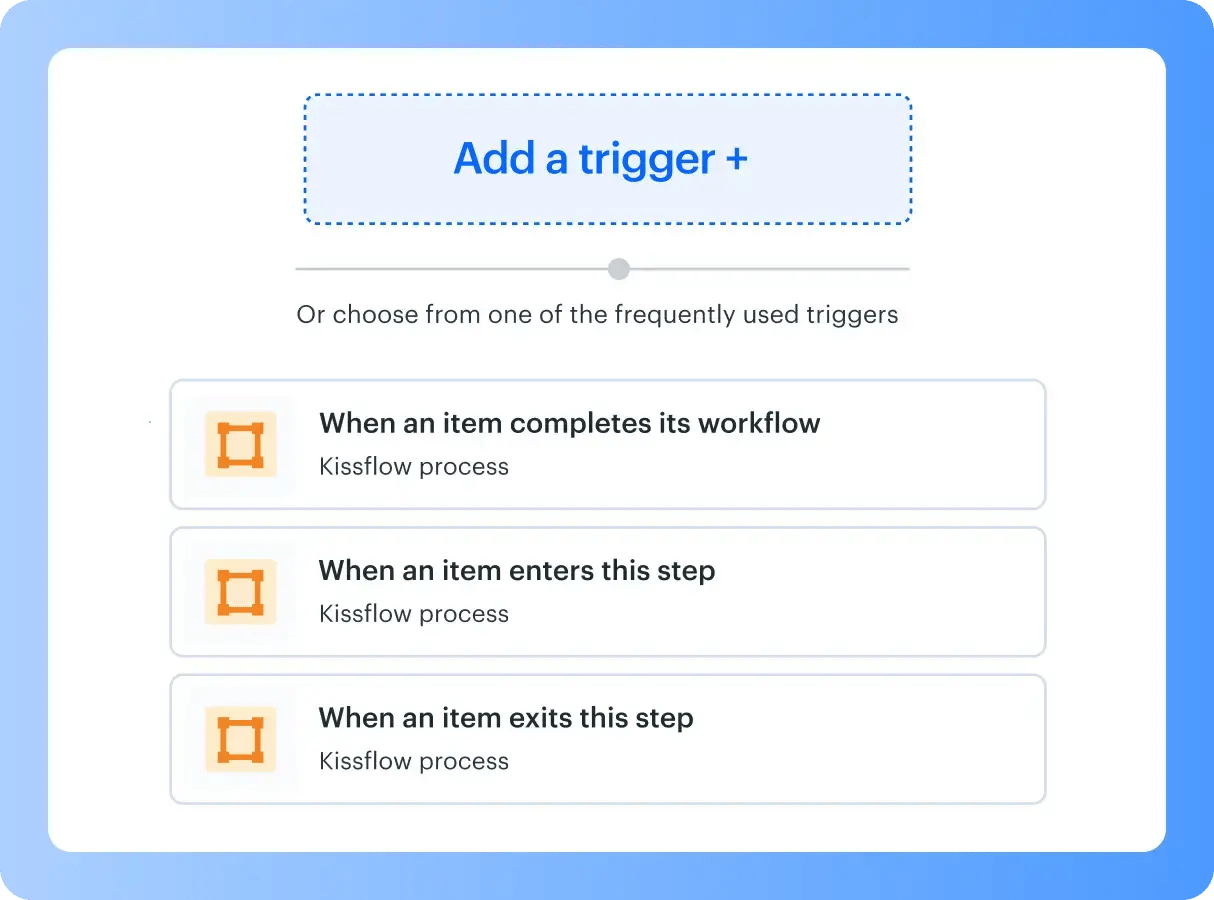
After creating a custom workflow with your NetSuite connector's action steps, switch ON the toggle button to activate the integration run. Once a trigger event occurs, the selected NetSuite action is activated and changes are reflected in your NetSuite account.
NetSuite users often need custom internal workflows for finance and operations. A No-Code Development Platform allows these processes to be built quickly without disrupting ERP stability.

.webp?width=2000&height=677&name=Inter%20Desktop%20(1).webp)


