Integrate Expensify With Kissflow
Connect Kissflow and Expensify to enhance your expense management. Automate data flow for precise expense tracking, approval processes, and financial transparency.
127K
Active customer integrations
4.9M
Total integration runs
*count across our customer base


Key Points
- Streamlined Management
- Enhanced Accuracy
- Time Efficiency
- Improved Insights
Expensify
What, Why, and How to Integrate
with Kissflow? How to connect Expensify
with Kissflow?
Get a personalized introduction to the Kissflow platform
Book A DemoWhat is Expensify?
Expensify is a cloud-based expense management software designed to simplify the process of tracking, reporting, and managing expenses for individuals and businesses. It offers a user-friendly interface that allows users to capture receipts, categorize expenses, and generate reports effortlessly.
With features like automatic receipt scanning, real-time expense tracking, and mobile accessibility, Expensify streamlines the expense reporting process, saving time and reducing errors. Additionally, it integrates with various accounting platforms, making it easier for businesses to maintain financial records. Whether you're a freelancer managing personal finances or a company overseeing employee expenses, Expensify aims to make expense management hassle-free and efficient.
Why Integrate Expensify with Kissflow?
Why integrate Expensify with Kissflow?
Integrating Expensify with Kissflow can provide numerous benefits, especially for organizations looking to streamline their expense management and workflow automation processes. Here are several reasons why this integration might be valuable:
1. Automated Expense Reporting: Expensify automates the expense reporting process, allowing users to easily capture receipts and track expenses. By integrating with Kissflow, organizations can streamline their approval workflows for expense reports, reducing manual effort and increasing efficiency.
2. Centralized Workflow Management: Kissflow is a powerful workflow management platform that allows businesses to create, manage, and optimize various processes. Integrating Expensify within Kissflow means that all expense-related tasks can be managed centrally, making it easier to keep track of submissions, approvals, and reimbursements.
3. Enhanced Visibility and Reporting: When Expensify data is integrated with Kissflow, businesses can better see expense trends and patterns. Kissflow can help generate reports and analytics on spending, allowing management to make informed decisions based on real data.
4. Improved Compliance and Control: Organizations can ensure better compliance with internal policies and external regulations with a formalized workflow for expense approvals and spending. This integration helps enforce controls over spending and provides an audit trail for accountability.
5. User-Friendly Experience: Both Expensify and Kissflow prioritize user experience. This integration ensures that employees have a smooth experience when submitting expenses for approval, enhancing overall satisfaction and adoption of the systems.
6. Eliminating Redundancies: By integrating Expensify with Kissflow, organizations can eliminate redundant data entry and reduce errors. This results in faster processing times and fewer discrepancies in financial records.
7. Scalability: As a business grows, so do its expenses and processes. Integrating these platforms allows for easy scalability of expense management processes without significant changes to existing workflows.
8. Customizable Workflows: Kissflow allows organizations to create customized workflows that adapt to their needs. By integrating with Expensify, businesses can tailor expense-related workflows to fit their unique approval processes.
9. Seamless Data Syncing: Integration ensures that data between Expensify and Kissflow is synced seamlessly, which minimizes the risk of data loss or inconsistencies and promotes accuracy in financial management.
How to connect Expensify with Kissflow?
How to integrate Expensify with Kissflow?
Below is a step-by-step guide for integrating Expensify with Kissflow using a third-party automation platform like Zapier.
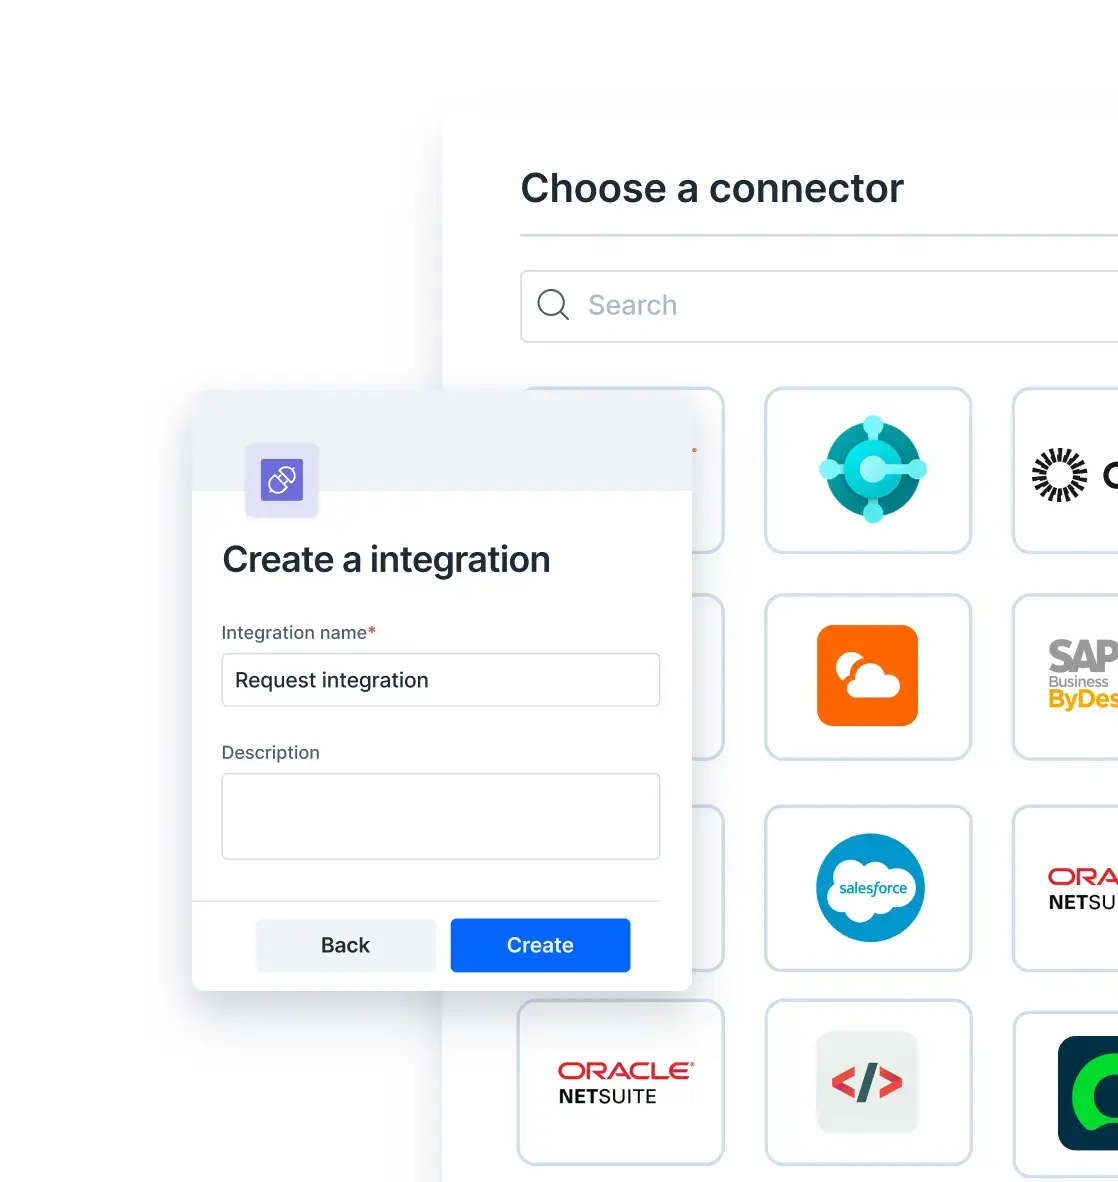
1. Inside your Kissflow account, click your profile picture on the top right corner of the screen and click Integrations from the dropdown. Now, click the New integration button to provide a name and description for your integration.
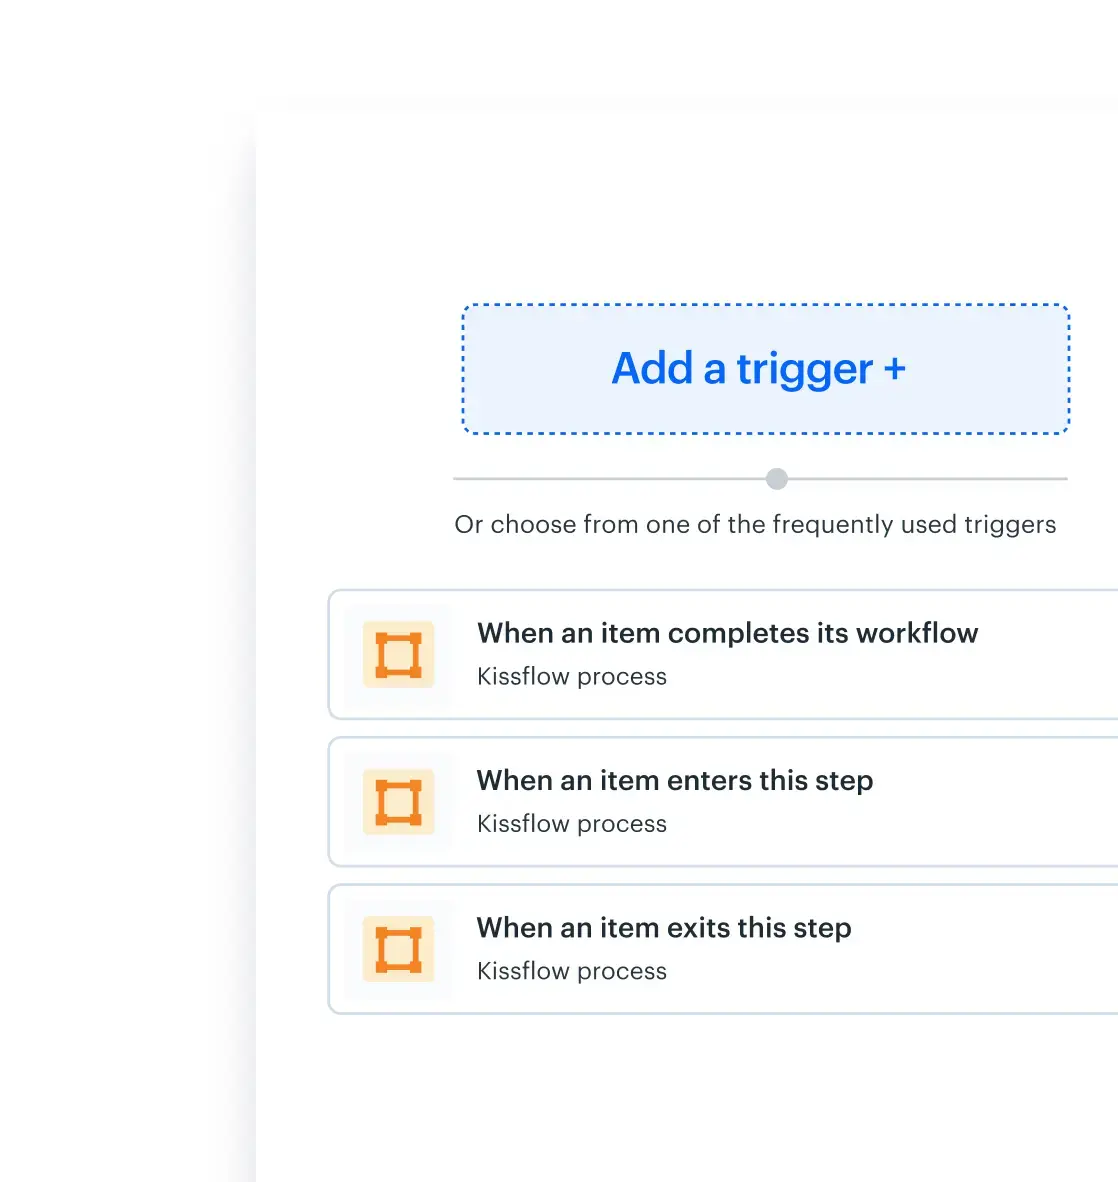
2. Set up trigger step, for example, you can use it to connect with your Gmail account. Each time new expense details in your Gmail inbox, this can lead to an action in the integration.
3. After setting up your trigger step above, click the Add button (+) next to set up your Expensify action step. Search for Expensify and select an available action event.
4. After choosing your action event, next step is to authenticate your connector.
5. Click +Add an account and you'll be prompted to enter a unique Partner user ID and Partner user secret from your Expensify account. These are different from your normal Expensify username and password.
To generate your unique Partner ID and secret in Expensify, sign into your Expensify account, then access this URL: https://www.expensify.com/tools/integrations/
6. After authenticating with your Expensify credentials, add the relevant values against the Expensify form fields, hit Refresh fields to view all the updated fields in the selected Expensify form. You can also map Expensify fields with your trigger step or previous action's fields. The field values will be automatically added to the item fields after the action is executed.
7. After a successful configuration, test whether your Expensify action step is set up correctly by clicking the Test button. The connector will pull field data from your selected Expensify account and display it as a JSON output. Similar to the trigger step, errors are notified to you right away. Fix them before retesting the action step.
>> Click here to learn more.
Setting up an Expensify workflow
After creating a custom workflow with your Expensify action step, switch ON the toggle button to activate the integration run. When the integration is active, an expense will be newly created on your Expensify account allowing you to create a comprehensive expense report.
This step-by-step guide will help you to effectively integrate Expensify with Kissflow using Zapier, enabling seamless workflow automation for expense management.
Expense submissions typically require verification and layered approvals. Low code development ensures these financial workflows follow defined control steps.
Expense management often requires multi-step approvals and validations across teams. A No-Code Platform for enterprise app creation enables finance and operations to automate these workflows with full visibility and control.
Key Actions
Unleashed by Integrating
Expensify

Create single expense
This action creates a single expense item in Expensify
Seamlessly Integrate Kissflow with Your Expensify– Start Connecting Today!
Related connectors
Frequently Asked Questions
- 1. Log in to your Kissflow account and navigate to the integrations section.
- 2. Select Expensify from the list of available integrations.
- 3. Follow the prompts to authenticate your Expensify account and grant the necessary permissions.
- 4. Configure the integration settings to define how expense submissions will be handled within Kissflow.
- 5. Save your settings and test the integration to ensure everything is working properly.
- Automated expense report submissions to Kissflow for approval.
- Real-time tracking of expenses within Kissflow workflows.
- Customized workflow notifications for expense approvals or rejections.
- Enhanced visibility into expense management and reporting through Kissflow dashboards.
- Simplified expense claim processes for employees, reducing time spent on manual entries.
- Expensify Help Center: A comprehensive resource with articles and guides on integration troubleshooting.
- Kissflow Support: A dedicated support team available via email or live chat to assist you with integration issues.
- Community Forums: Engage with other users and experts who can provide insights and solutions based on their experiences.
- Documentation: Detailed integration guides and FAQs are available on both platforms to help you troubleshoot common problems.
Have questions about Kissflow + Expensify? Chat with an integration expert now
Integrations are part of the app, not separate
Create enterprise integrations to your core systems directly inside Kissflow’s app builder without switching tools







Every app is built to connect

Configure inside the builder
Use the same platform to connect your app as you do to build it

No middleware to manage
See any mismatches or errors from within the platform

Built-in governance
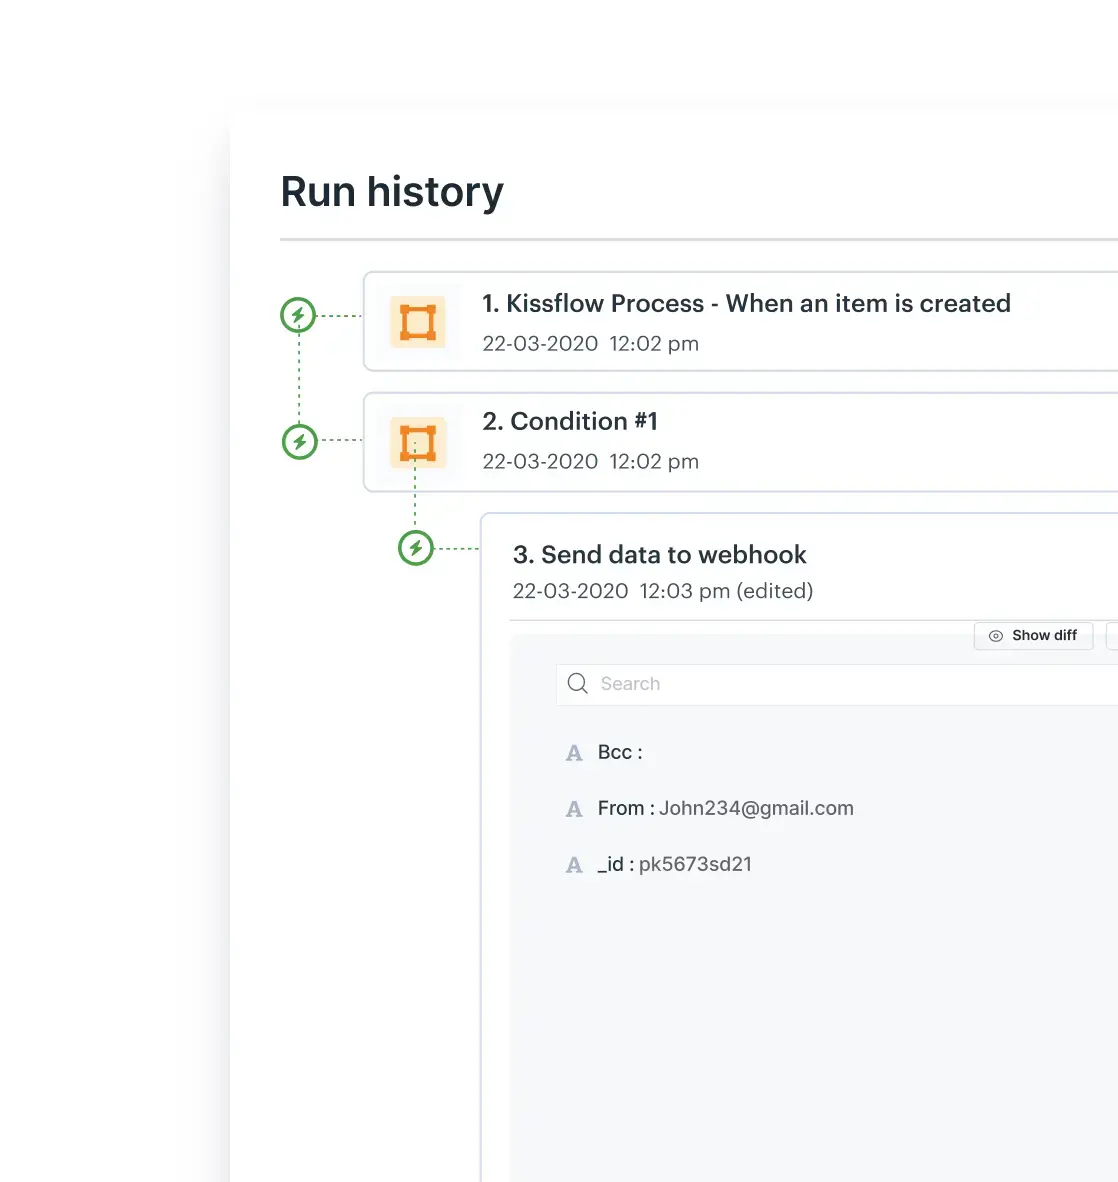
Get admin reports on every run, adjust payloads, and monitor status
Marketing

ActiveCampaign
ActiveCampaign is a customer experience automation (CXA) software that assists organizations in better engaging their customers.

Mailchimp
Mailchimp is a marketing automation platform and email marketing service for managing mailing lists and creating email marketing campaigns to send to customers
Signatures

Adobe Sign
Adobe Sign is a cloud-based e-signature service that enables users to submit, sign, track, and manage signing procedures through a browser or mobile device.

DocuSign
DocuSign is an electronic signature technology and digital transaction management service for facilitating electronic exchanges of signed documents.
Project Management

Asana
Asana is project management tool for modern businesses. Organize, track, and manage your tasks with Asana's web and mobile applications.

Basecamp
Basecamp is an online collaboration app that lets people manage their work together and communicate with one another.

Smartsheet
Assign tasks, track project progress, manage calendars, share documents, and manage other work, using a tabular user interface.

Jira
Jira is an issue tracking product by Atlassian that allows bug tracking and agile project management. This integration allows you to connect to cloud-hosted instances of Jira.

Monday.com
Monday.com is a versatile project management software that enables users to manage all their projects efficiently in one centralized platform. Teams can create customizable workflows, track project progress, assign tasks, and collaborate in real-time.
Security and Identity Tools

Azure Active Directory
Microsoft Azure Active Directory (Azure AD) offers cloud-based Identity and Access Management (IAM) solution to enterprise customers.

Okta
Okta helps companies manage and secure user authentication into applications and for developers to build identity controls into applications, website web services, and devices.
Phone and SMS


File Management and Storage

Accounting and Finance

Expensify
Expensify is an application that makes it easy to import expenses directly from a credit card to create expense reports quickly and easily

FreshBooks
Connect Kissflow with FreshBooks to automate accounting workflows, streamline invoicing, and reduce manual entry.

Quickbooks
Quickbooks is an accounting software package and geared mainly toward small and medium-sized businesses

XE.com
XE.com provides currency exchange rates, tools, and services for individuals and businesses around the world

Xero
Xero's cloud-based acconting software lets businesses track their expenses with ease.
Google Workspace

Gmail
One of the most popular email services, Gmail keeps track of all your emails with threaded conversations, tags, and Google-powered search to find any message you need.

Google Calendar
Google Calendar allows you to organize and share your schedule with friends and colleagues.

Google Drive
Google Drive will keep all your files organized and up to date

Google Sheets
cloud-based spreadsheet application that allows users to create, edit, and collaborate on spreadsheets in real-time
Chat and Video Conferencing

Google Chat
Google Chat is a communication service designed for teams and business environments.

Microsoft Teams
Microsoft Teams is a collaborative workspace within Microsoft 365 that acts as a central hub for workplace conversations

Slack
Slack is a platform for team communication: everything in one place, instantly searchable, available wherever you go. Offering instant messaging, document sharing and knowledge search for modern teams.
Customer Relationship Management

HubSpot
HubSpot offers a full platform suite of inbound marketing, sales, and customer service tools for modern teams

Salesforce
Salesforce provides customer relationship management software and applications focused on sales, customer service, marketing automation, analytics, and application development.

Salesmate
Salesmate is a sales and custom relationship management software that can be used by teams of any size

Zendesk
Zendesk is a cloud-based help desk management solution offering customizable tools to build customer service portal, knowledge base and online communities.
Enterprise Resource Planning (ERP)

Oracle NetSuite
Oracle NetSuite is a cloud-based ERP platform popular with small to mid-sized businesses, unifying financials, inventory, CRM, and e-commerce in one system.

Microsoft Dynamics 365 Business Central
Microsoft Dynamics 365 Business Central is an all-in-one business management solution that helps organizations streamline processes, make informed decisions, and drive growth through finance, operations, sales, and customer service functionalities.

SAP Business ByDesign
SAP Business ByDesign is a cloud-based, mid-market ERP solution from SAP that combines finance, HR, procurement, and supply chain management in a single integrated suite.

SAP S/4HANA
SAP S/4HANA is SAP's next-generation ERP suite, built on the in-memory HANA database, designed for large enterprises needing real-time data processing across finance, supply chain, manufacturing, and other core business functions.
Microsoft Office

Microsoft Excel
Microsoft Excel is a spreadsheet application developed by Microsoft. It features calculation or computation capabilities, graphing tools, pivot tables, and a macro programming language called Visual Basic for Applications (VBA).

Microsoft OneDrive
Microsoft OneDrive offers a cloud service to host all your photos, videos, and files that are backed up, protected, synced, and made accessible on all your devices.

Microsoft Outlook
Microsoft Outlook is a popular suite of email, contacts, and calendaring services

Microsoft SharePoint
Microsoft SharePoint allows you to share and manage content, knowledge, and applications to empower teamwork and seamlessly collaborate across the organization
Human Resources (HR)

Information Technology (IT)


Stage 1
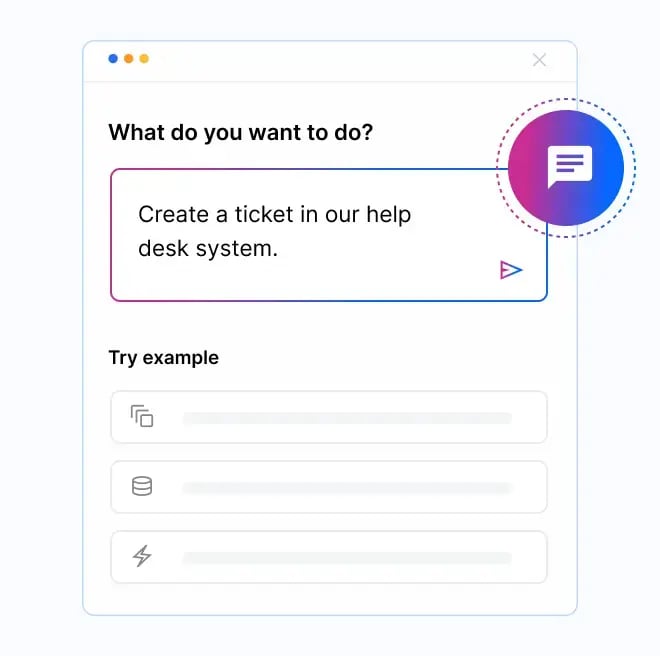
Describe in plain English
Enter what you want to accomplish. For example: 'Create a ticket in our help desk system.'
Stage 2
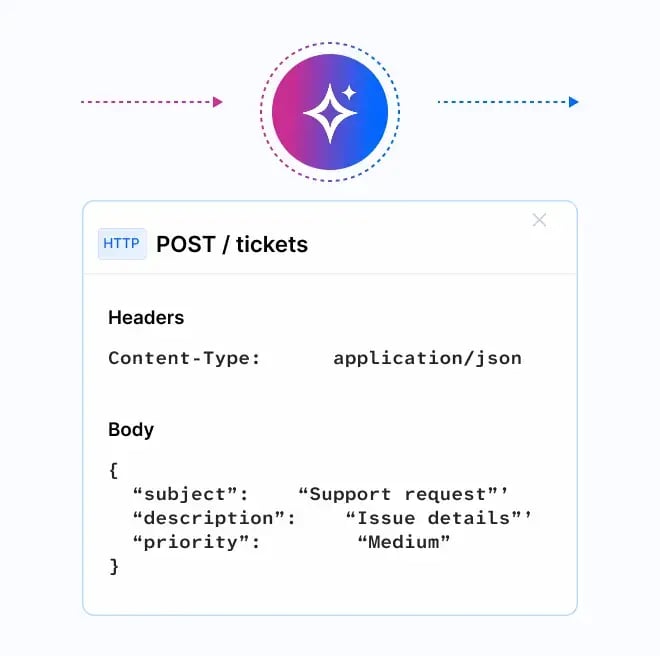
AI generates the action
Kissflow auto-populates the HTTP method, endpoint URL, and request payload.
Stage 3
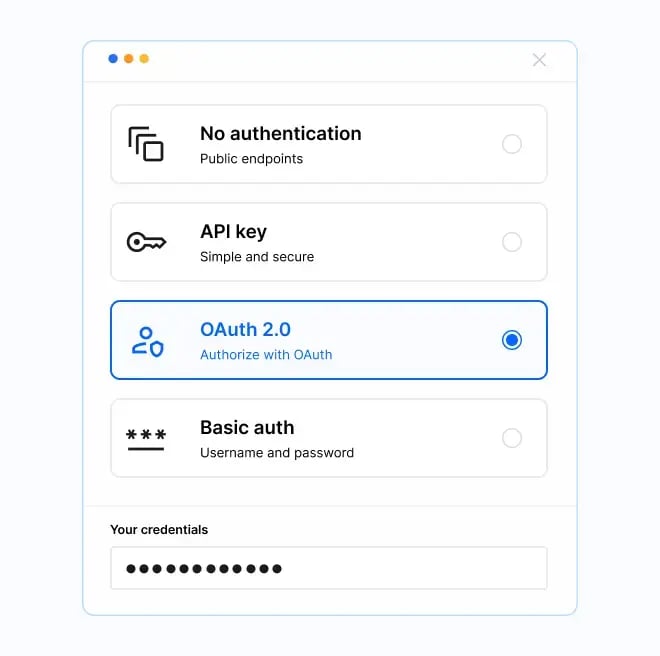
Choose authentication
Select from no auth, basic auth, API key, or OAuth2, and enter your credentials.
Stage 4

Test and deploy
Verify the connection with a live test, refine if needed, and add it to your workflow.